In short
Work from broad to narrow. Silhouette and proportions survive almost any crop; lamp and bumper shapes carry real signal; colour, badges and fine detail fall away first. Combine weak clues honestly — and when the evidence can’t separate two candidates, report the shortlist rather than forcing a name. For anything that matters, the original file goes to police as-is.
What survives in a partial photo
Degradation is a known hard case for both human and machine identification. The Vehicle Re-Identification in Context benchmark research (arXiv, 2018) documents exactly the conditions that defeat matching systems: low resolution, motion blur, poor illumination, occlusion and unusual viewpoint. If your photo has one of those, you are working the difficult end of the problem — so lower the bar for what a good answer looks like.
What survives is hierarchy-dependent. The broad features degrade last:
- Silhouette and proportions — roofline, ride height, wheel positions, the ratio of glasshouse to body. These define the vehicle’s class and persist in remarkably small crops.
- Major shapes — the outline of lamps, the bumper’s arc, the tailgate’s split lines. Readable even when the detail inside them is gone.
- Fine detail — badge lettering, lamp internals, grille texture, exact colour. The first casualties of blur, darkness and cropping.
The photo-identification guide reads a good frame the same way — broad shape first, small detail last — and on a weak photo you simply run out of road further up that ladder.
Rear-only: lamps, bumpers, badging
A rear three-quarter or dead-rear frame is the most common partial photo — and the rear is often the most distinctive view a car offers. Read it in order:
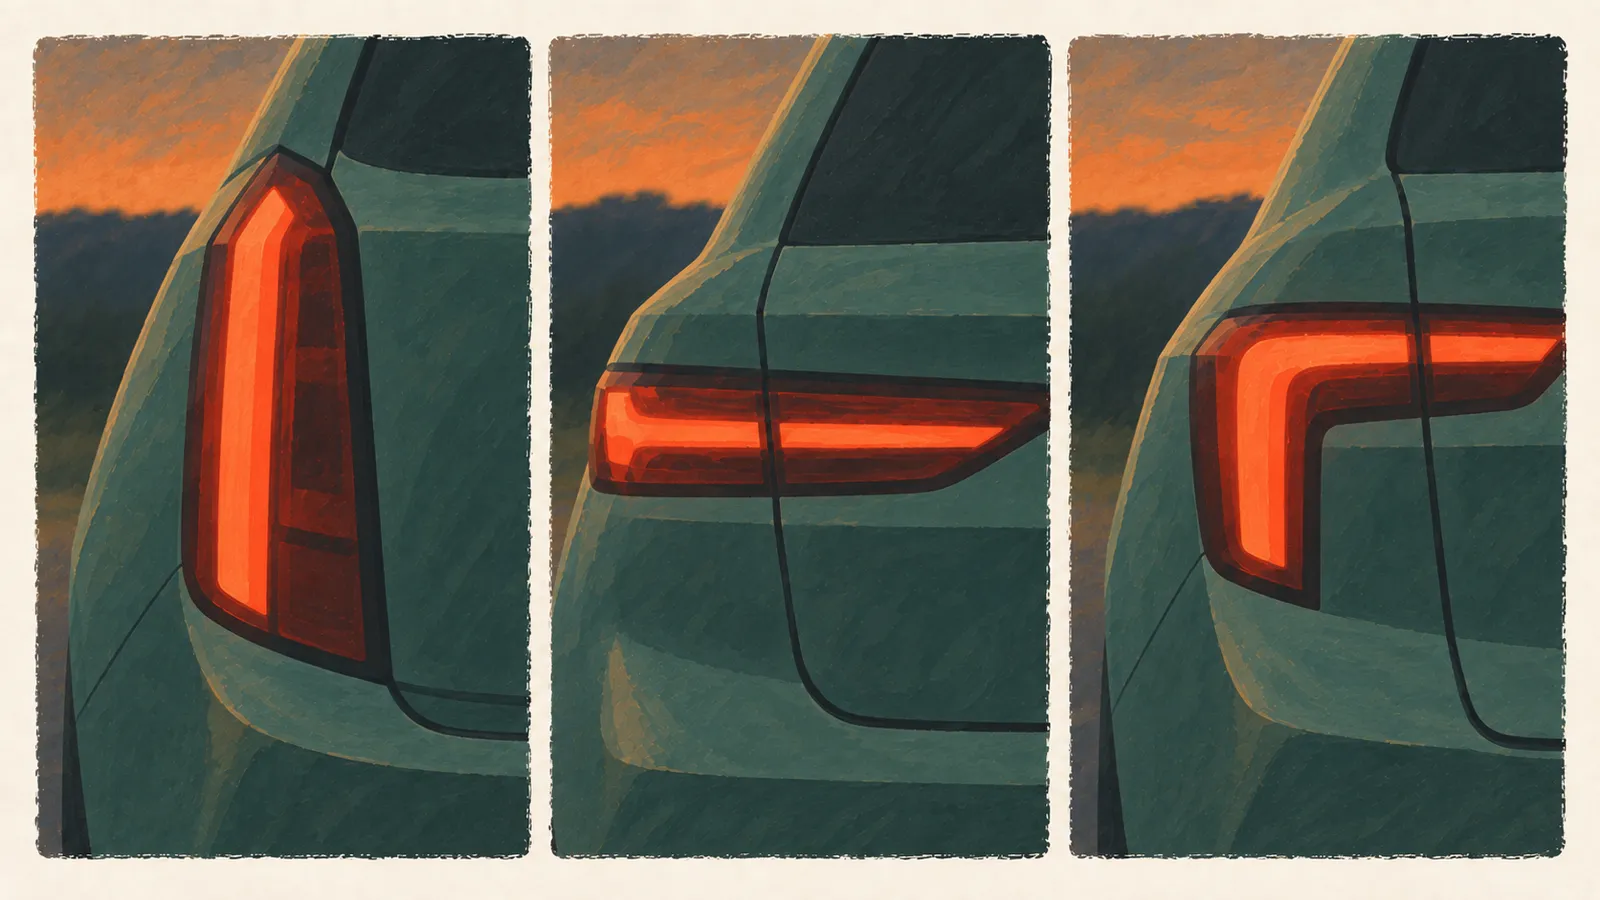
- Tail-lamp outline: where the lamp ends, whether it wraps onto the quarter panel or the tailgate, whether a full-width light bar connects the pair. Lamp shape is model-distinctive at a level the badge rarely reaches — ClassicCars.com Journal runs taillight-identification quizzes on the premise that premium models historically used lamps designed to distinguish them.
- Bumper and diffuser: the bumper’s lower edge, reflector positions, exhaust count and exit side.
- Tailgate layout: plate recess position and shape, spoiler, rear wiper presence and sweep, handle placement.
- Badging: if legible, model and trim script can name the answer outright — but treat them as claims and read the badge guide first, because badges are moved, added and removed.
Figure 1 · Three taillights, three cars
Night and motion blur: colour, stance, reflections
Night and motion strip the photo differently. Night removes colour fidelity — dark blues and blacks merge, metallic and solid finishes become indistinguishable — and replaces detail with the lamp signatures themselves. What you can still honestly report: size and proportions, ride height and stance, the lamp pattern (projector beams versus a diffuse halogen glow), and reflections that outline the body panels.
Motion blur elongates everything along the direction of travel. A blurred car reads longer and lower than it is; judge proportions perpendicular to the blur, not along it. And treat colour under streetlight as a range — “light, maybe silver or pale grey” — because sodium and LED lighting shift what the sensor records.
Door and mirror shapes, the windowline’s corner, and the C-pillar’s angle are the mid-level details that sometimes survive a dark frame even when nothing smaller does.
Interior and detail crops
Sometimes the surviving evidence is a detail: a wheel design, a steering wheel, a mirror housing, a seat fabric. These can narrow a candidate list — a distinctive wheel spoke pattern or a dashboard’s twin-cowl shape is real signal. But weigh them with caution:
- Wheels are the most-changed item on any car — fitted aftermarket, swapped between models, changed by trim. A recognisable wheel is a clue about the part, not proof of the car.
- Interior parts circulate — steering wheels and seats get retrofitted; trim-level interior differences follow the equipment rules in the trim-spotting guide.
- A detail is a filter, not a verdict — use it to rule candidates out, not to crown one. A crop that rules out two of three candidates is a good result.
When the evidence isn’t enough
There is a point where a photo simply cannot separate the remaining candidates, and the honest output is a shortlist, not a name. Two candidates that differ only under a floorpan cover, or only in engine internals, cannot be told apart by any rear-end photo — yours or a professional’s. Recognise it early rather than forcing a choice the evidence doesn’t support.
That honesty matters most when the photo is evidence. For an incident — a hit-and-run, damage, anything reported to police — hand over the original file exactly as the camera wrote it. Do not crop, enlarge, filter or “enhance” the only copy first: the pixels you discard may hold the detail that matters, and processing an original makes it harder to use as evidence. The incident-reporting guide covers what police ask for and how to describe what you saw.
Combining weak clues honestly
When no single clue is decisive, the method is accumulation — several weak clues that each exclude some candidates can still produce a shortlist:
- Anchor the silhouette. Body style and proportions cut the field to a class before any detail is read.
- Mine the surviving details. Lamp outlines, bumper shape, lamp pattern — list every feature that survives, however small.
- Cross-check candidates. For each candidate model, check whether it could produce every surviving clue. One clue the candidate cannot explain removes it.
- Layer the context. Era (number-plate style, film grain, fashion in the frame), market (where the photo was taken), and the circumstances all prune the list further.
- Report what’s left. A shortlist of two is a real result; say which clues can’t separate them.
The rule of thumb: a consistent weak story beats one strong-looking detail that conflicts with it. If the silhouette says hatchback but one reflection suggests a spoiler, the silhouette wins — the anomaly is more likely your photo than the car.
Sources and what they cover
Sources last checked . These support the general claims about degraded evidence and lamp distinctiveness; they are not identification tools and do not name vehicles in your photo.
- arXiv: Vehicle Re-Identification in Context (Kanacı, Zhu and Gong, 2018) — benchmark research documenting that realistic vehicle matching struggles with resolution, motion blur, illumination, occlusion and viewpoint — the conditions a weak photo is made of.
- ClassicCars.com Journal: “Can you identify which premium cars used these taillights?” — an enthusiast quiz built on the premise that tail-lamp shapes are model-distinctive; an example of rear-detail comparison in practice, not authority for definitive identification.
Spotted an error? Tell us — include the page address and what looks wrong.